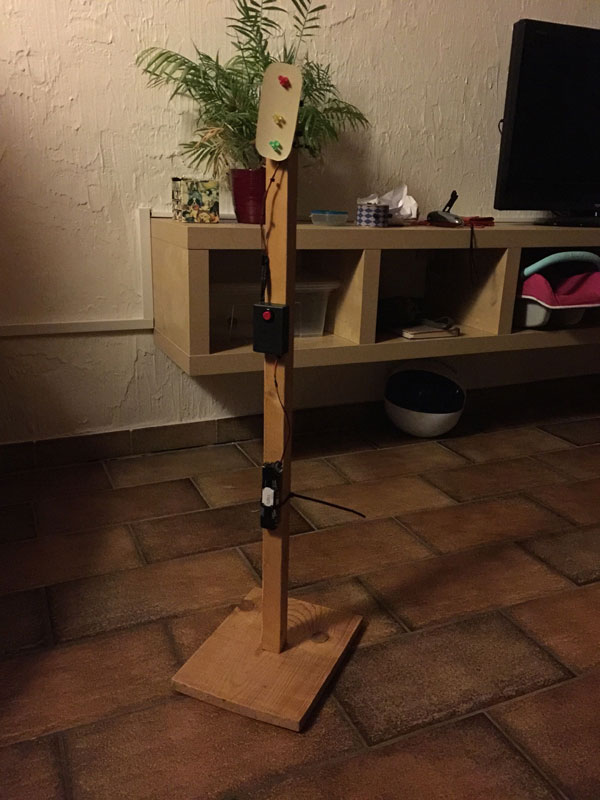
It’s been a while since i’ve done anything on this page and i’m sad that it took me that long to post something again. As i enjoyed me vacation over cristmas and new years eve i build a traffic light for my oldest doughter. She is 2 and a half years at the moment and loves to tell us that an imaginary traffic light is red when we are out for a walk. Then we all have to stop walking and wait until she say’s that the traffic light is green again and we can continue our walk.
This litte game entrapped me to tell her that i will build her a traffic light. One thing i take really seriously is to do everything i promise to my kids. So i bought some LED’s and other parts and assembled a traffic light. Here is the part list:
- 3 red low current LED’s 5mm (D1, D2, D3)
- 3 yellow low current LED’s 5mm (D4, D5, D6)
- 3 green Low current LED’s 5mm (D7, D8, D9)
- a bush button (S1)
- a case to hold the arduino
- an arduino nano
- a battery holder for 4 AA-bateries 1,5V
- 2 560 ohm resistors (R1, R3)
- 1 470 ohm resistor (R2)
- 1 10K ohm resistor (R4)
- some wood to build the stand
- some wire to wire everything together
- some cable ties to fix the electronic at the stand
and here is the schematic: 
Every time the button is pushed the traffic light switches the state. I started coding with the debouncing of the button by following the debounce tutorial. Here is the Code for the traffic light:
// constants won't change. They're used here to
// set pin numbers:
const int buttonPin  = 2;    // the number of the pushbutton pin
const int greenLed   = 12;
const int yellowLed  = 11;
const int redLed     = 10;

// Variables will change:
int isGreen = HIGH;
int buttonState;
int lastButtonState = LOW;

long lastDebounceTime = 0;
long debounceDelay = 50;

void setup() {
  pinMode(buttonPin, INPUT);
  pinMode(greenLed, OUTPUT);
  pinMode(redLed, OUTPUT);
  pinMode(yellowLed, OUTPUT);

  // set initial LED state
  digitalWrite(greenLed, isGreen);
  digitalWrite(redLed, !isGreen);
}

void loop() {
  // read the state of the switch into a local variable:
  int reading = digitalRead(buttonPin);

  // check to see if you just pressed the button
  // (i.e. the input went from LOW to HIGH),  and you've waited
  // long enough since the last press to ignore any noise:

  // If the switch changed, due to noise or pressing:
  if (reading != lastButtonState) {
    // reset the debouncing timer
    lastDebounceTime = millis();
  }

  if ((millis() - lastDebounceTime) > debounceDelay) {
    if (reading != buttonState) {
      buttonState = reading;

      if (buttonState == HIGH) {
        switchState();
      }
    }
  }

  // save the reading.  Next time through the loop,
  // it'll be the lastButtonState:
  lastButtonState = reading;
}

void switchState() {
  delay(1000);
  if(isGreen) {
    digitalWrite(greenLed, LOW);
    digitalWrite(yellowLed, HIGH);
    delay(1000);
    digitalWrite(redLed, HIGH);
    digitalWrite(yellowLed, LOW);
  } else {
    digitalWrite(yellowLed, HIGH);
    delay(1000);
    digitalWrite(yellowLed, LOW);
    digitalWrite(redLed, LOW);
    digitalWrite(greenLed, HIGH);
  }
  isGreen = !isGreen;
}
The mini project was a success for my doughter and me. She loves to play with it and i had fun doing some hardware stuff. Maybe the circuit or code has some issues but it works for now and i consider it at least good enough for now.
If you have any questions or comments send me an email or tweet at me. I would love to hear from you.